The Ultimate Healthy Honey Nut Granola Recipe (Easy & Crunchy!)
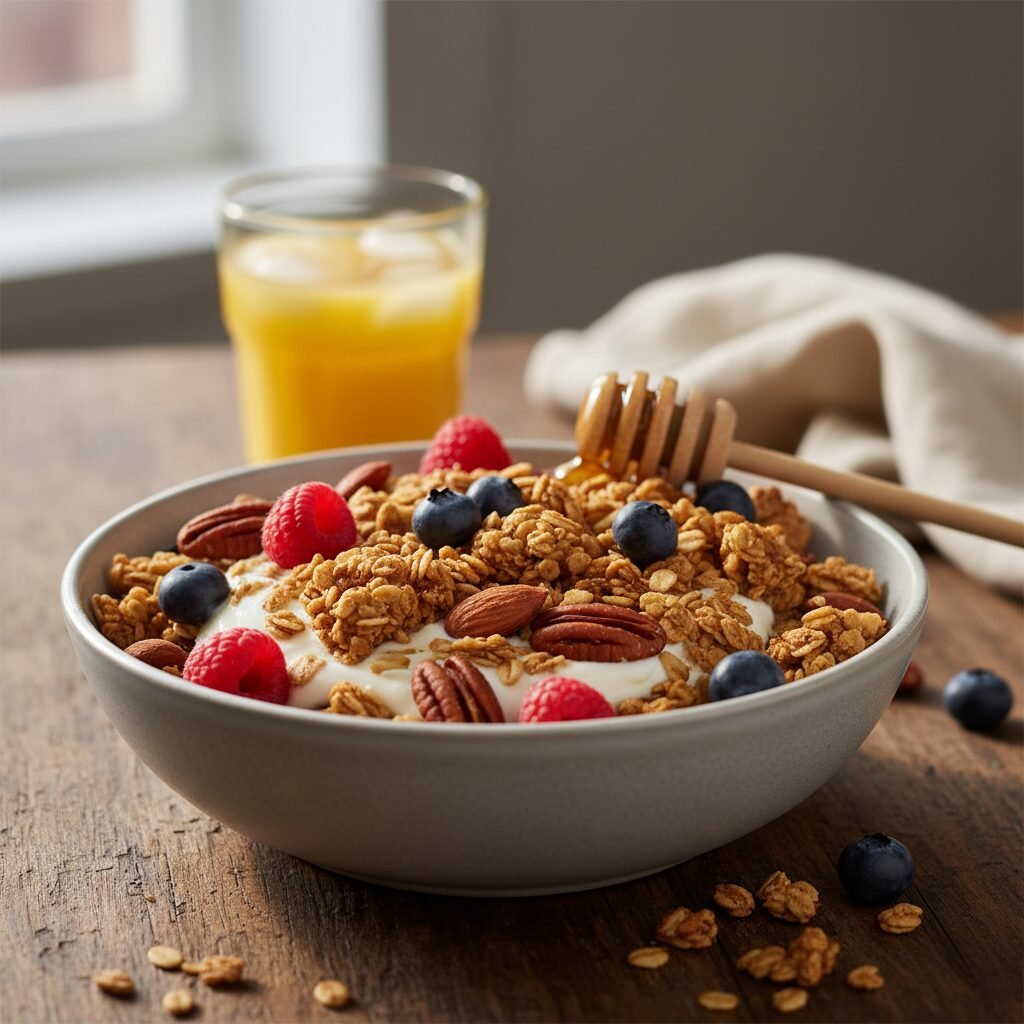
Granola With Honey And Nuts Healthy Recipe
Say goodbye to bland, store-bought granola for good! This homemade Honey Nut Granola is about to become your new breakfast obsession. It’s incredibly easy to make, fills your kitchen with the most amazing warm and toasty aroma, and delivers the perfect crunchy clusters every single time. Packed with wholesome oats, crunchy nuts, and naturally sweetened with golden honey, it’s the perfect healthy start to your day or a satisfying afternoon snack. Let’s get baking!
10 minutes
30 minutes
40 minutes (plus cooling time)
About 6 cups
Breakfast
Baking
American
Vegetarian
Why You’ll Love This Recipe
- ✓Naturally sweetened with pure honey, no refined sugars!
- ✓Packed with heart-healthy nuts and whole-grain oats for lasting energy.
- ✓Super customizable – use your favorite nuts, seeds, and spices.
- ✓Achieves that perfect clumpy, crunchy texture everyone loves.
Equipment You’ll Need
- ✓Large baking sheet
- ✓Parchment paper
- ✓Large mixing bowl
- ✓Small saucepan or microwave-safe bowl
- ✓Spatula
Ingredients
- ✓3 cups old-fashioned rolled oats (use certified gluten-free if needed)
- ✓1 1/2 cups raw, unsalted nuts (such as almonds, pecans, or walnuts), roughly chopped
- ✓1/2 cup raw seeds (such as pumpkin seeds or sunflower seeds)
- ✓1/2 teaspoon ground cinnamon
- ✓1/4 teaspoon fine sea salt
- ✓1/2 cup honey
- ✓1/3 cup melted coconut oil or other neutral oil
- ✓1 teaspoon vanilla extract
Instructions
- Preheat your oven to 325°F (165°C). Line a large baking sheet with parchment paper.
- In a large mixing bowl, combine the dry ingredients: rolled oats, chopped nuts, seeds, ground cinnamon, and sea salt. Stir well to distribute everything evenly.
- In a small saucepan over low heat (or in a microwave-safe bowl), gently warm the honey and melted coconut oil until they are fluid and well combined. Remove from heat and stir in the vanilla extract.
- Pour the wet mixture over the dry oat mixture. Use a spatula to stir thoroughly, ensuring every oat and nut is lightly coated.
- Spread the granola mixture in a thin, even layer on the prepared baking sheet. Gently press it down with the back of the spatula—this helps create those delicious, chunky clusters!
- Bake for 20-30 minutes, stirring halfway through, until the granola is a light golden brown. Be careful not to overbake, as it can burn quickly.
- Remove the baking sheet from the oven and let the granola cool completely on the pan without stirring it. This is the secret to getting big, crunchy clumps!
- Once completely cool, break the granola into clusters of your desired size. Store and enjoy!
Expert Cooking Tips
- ✓For the best clusters, press the granola mixture firmly onto the baking sheet before baking and do not stir it after removing it from the oven until it has cooled completely.
- ✓Keep a close eye on the granola in the last 10 minutes of baking. The honey can cause it to go from golden to burnt very quickly.
- ✓If you want to add dried fruit (like raisins or cranberries), wait until the granola has cooled completely to prevent them from burning and becoming hard in the oven.
Substitutions and Variations
This recipe is very forgiving! Feel free to swap the honey for maple syrup for a vegan version. You can use any combination of nuts and seeds you have on hand, just keep the total volume the same. Olive oil can be used in place of coconut oil for a slightly different, savory-sweet flavor. For extra flavor, consider adding a pinch of nutmeg or cardamom along with the cinnamon.
Common Mistakes to Avoid
A common mistake is baking the granola at too high a temperature, which toasts the outside too quickly while leaving the inside soft, and can burn the honey. Stick to a low-and-slow method. Another issue is not letting it cool completely on the baking sheet before breaking it apart; this step is crucial for achieving maximum crunch and creating those coveted large clusters. Lastly, avoid adding mix-ins like chocolate chips or dried fruit until after the granola has baked and cooled.
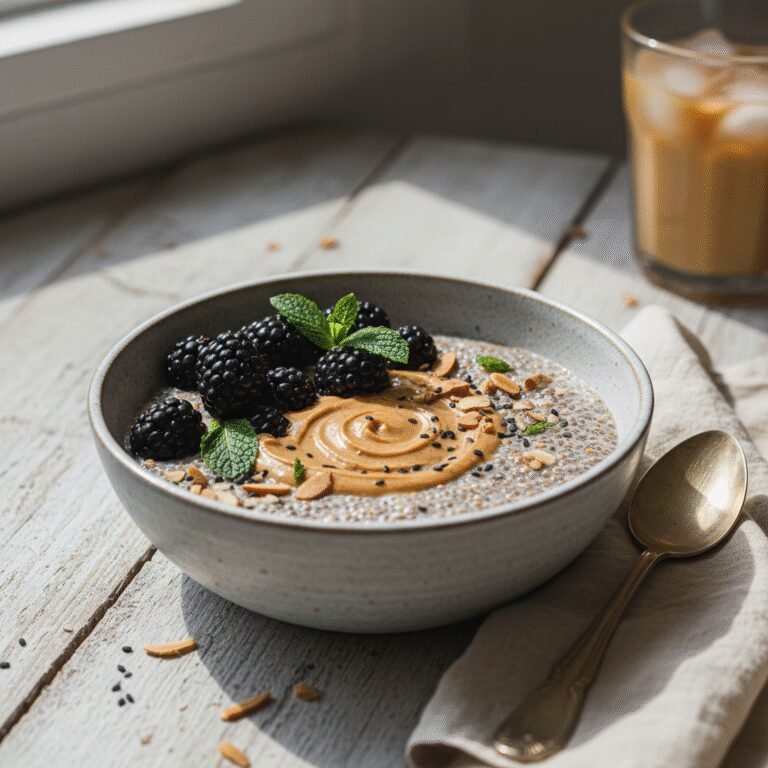
Serving Suggestions
The possibilities are endless! Serve this honey nut granola over a bowl of Greek yogurt with fresh berries for a classic parfait. Pour milk over it for a wholesome and crunchy cereal. Sprinkle it on top of smoothie bowls or ice cream for added texture, or simply enjoy it by the handful as a healthy, on-the-go snack.
Storage and Reheating Tips
To keep your granola fresh and crunchy, store it in an airtight container (like a glass jar) at room temperature. It will stay delicious for up to 2 weeks. Make sure the granola is 100% cooled before transferring it to the container, as any residual warmth will create steam and make it soft.
Nutrition Facts (Estimated)
| Serving Size | 1/2 cup |
| Calories | 245 kcal |
| Fat | 14g |
| Saturated Fat | 4g |
| Unsaturated Fat | 10g |
| Trans Fat | 0g |
| Cholesterol | 0mg |
| Sodium | 5mg |
| Carbohydrates | 23g |
| Fiber | 5g |
| Sugar | 11g |
| Protein | 6g |
Frequently Asked Questions
Can I make this granola gluten-free?
Absolutely! Just be sure to use certified gluten-free old-fashioned rolled oats. The rest of the ingredients are naturally gluten-free.
Why isn’t my granola clumpy?
The two most important steps for clumpy granola are: 1) Pressing the mixture down on the baking sheet before baking, and 2) Letting it cool completely on the pan without touching it. This allows the honey and oil mixture to harden and bind the oats and nuts together into large clusters.
Can I reduce the amount of honey or oil?
You can reduce them slightly, but keep in mind that the honey and oil are what create the crunchy coating and help the granola form clusters. Reducing them too much will result in a drier, less clumpy texture.
Conclusion
There you have it – a simple, wholesome, and unbelievably delicious homemade granola that will brighten up your mornings. Once you try this recipe, you’ll never want to go back to the boxed stuff again. Happy baking, and enjoy every crunchy bite!